Creating Zoom meetings
There are two types of Zoom meetings, which you can create
- General Zoom Live meetings
- Zoom Live Lesson
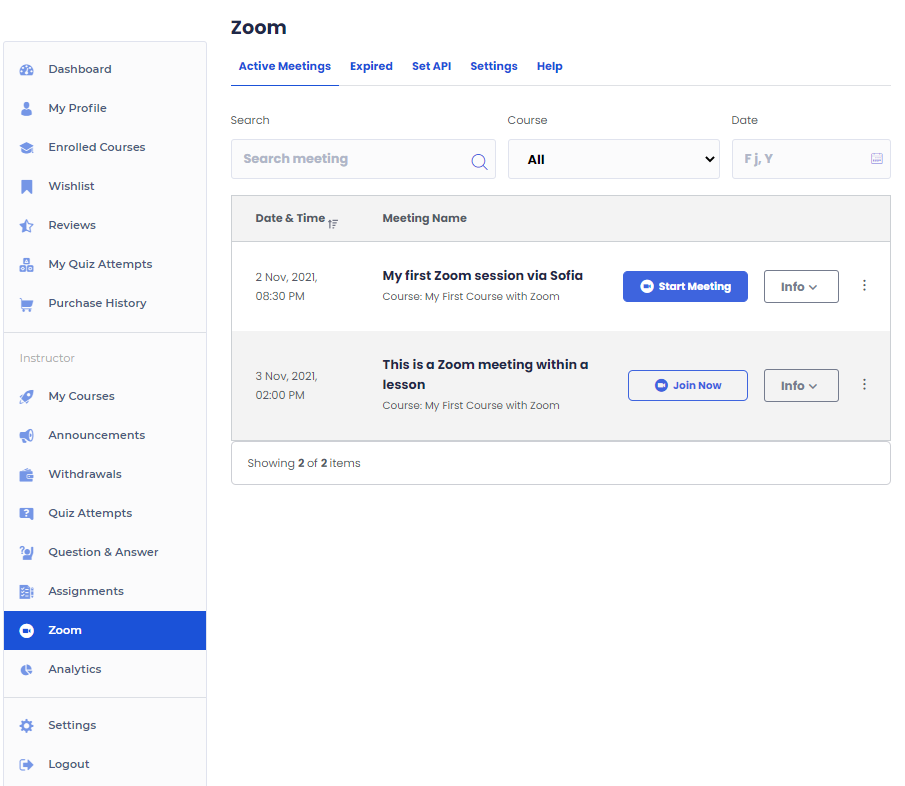
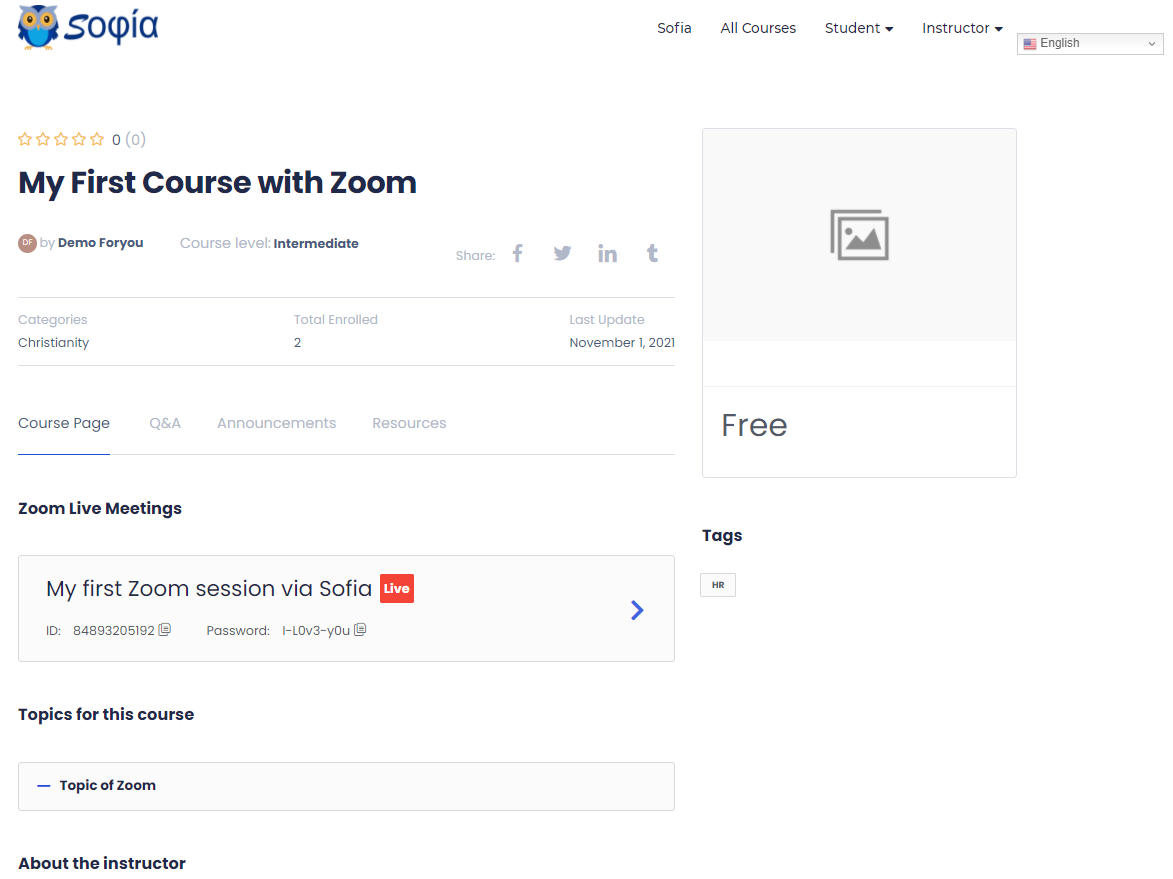
In the picture below, you can see an example of a General Zoom Live meeting called: My first Zoom session via Sofia.
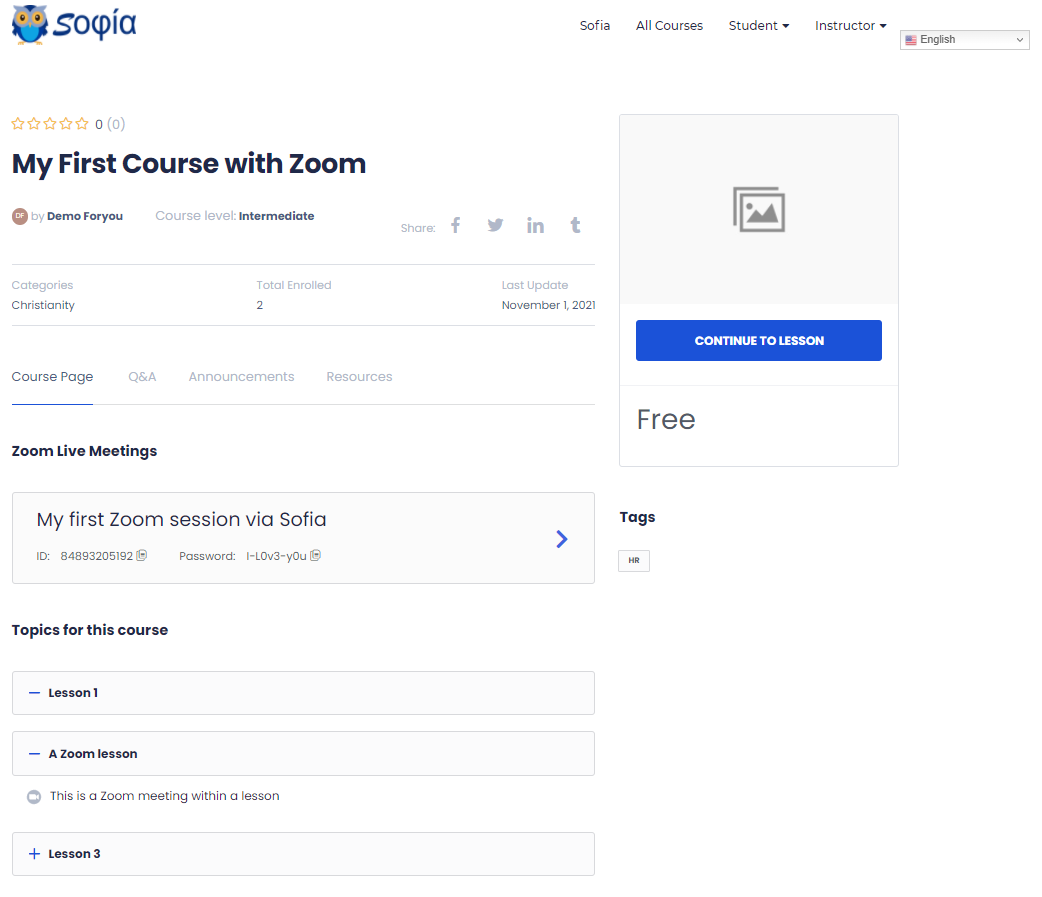
In the picture above, you can see an example of a Zoom Live lesson called: This is a Zoom meeting within a lesson.
To create a general Zoom Live meeting
If Zoom is correctly integrated, you will see a section in the course editing panel called “Connect with your students using Zoom”. On it, there will be a button called Create a Zoom Meeting.

Click on the Create a Zoom Meeting button, you will be given a popup where you can configure all settings for a Zoom meeting.

Meeting Name: Give the meeting a name.
Meeting Summary: Give a summary of what the meeting is about. Mention things such as topics to be covered, type of meeting, etc.
Meeting Time: Select the time and date of the meeting
Meeting Duration: Select the duration of the meeting. PS: If you are a free user of Zoom, you cannot hold meetings longer than 40min.
Time Zone: Specify the time zone for the meeting.
Auto Recording: Specify the Recording type of the meeting. Local will store the meeting to a user’s PC while cloud will use Zoom cloud storage. Please note that students joining through the browser will not be able to store the meeting, as only the Zoom app can store the meeting.
Password: Set a password that will restrict people from accessing the meeting randomly. Students will be able to access the Zoom meeting with only the proper credentials.
Meetings Host: This section will show the name of the meeting host.

To create a Zoom Live Lesson
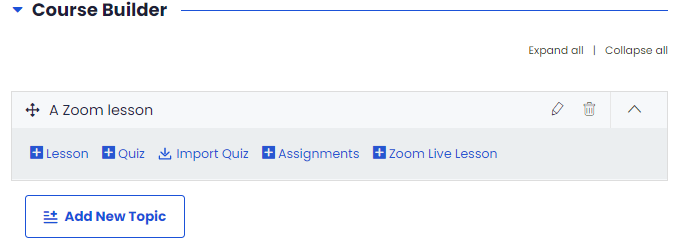
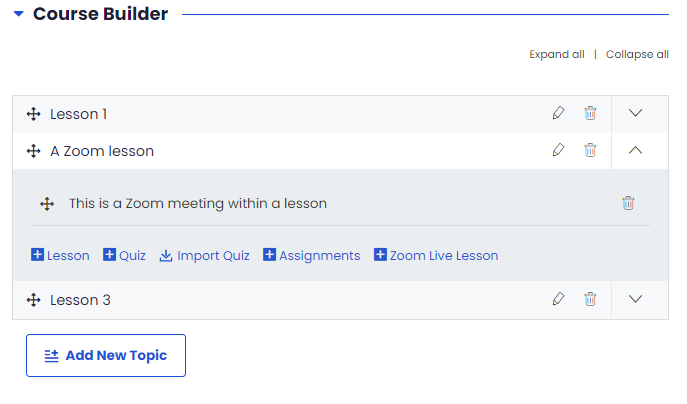
In each topic, you will see a new button called Zoom Live Lesson next to Lesson, Quiz, Import Quiz and Assignments. This will allow you to create lesson-specific meetings for your students.
Click on the Zoom Live Lesson button
The system will show you the following popup
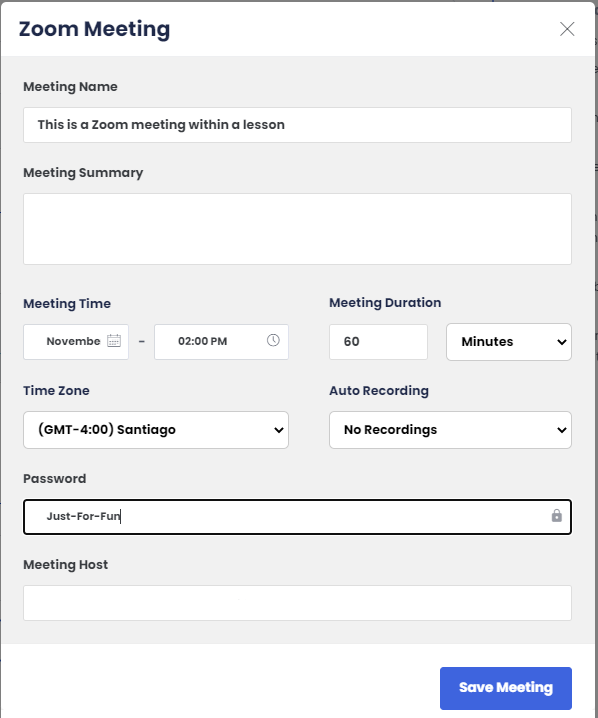
Meeting Name: Give the meeting a name.
Meeting Summary: Give a summary of what the meeting is about. Mention things such as topics to be covered, type of meeting, etc.
Meeting Time: Select the time and date of the meeting
Meeting Duration: Select the duration of the meeting. PS: If you are a free user of Zoom, you cannot hold meetings longer than 40min.
Time Zone: Specify the time zone for the meeting.
Auto Recording: Specify the Recording type of the meeting. Local will store the meeting to a user’s PC while cloud will use Zoom cloud storage. Please note that students joining through the browser will not be able to store the meeting, as only the Zoom app can store the meeting.
Don’t forget to click on the Save Meeting button
After creating a Live Lesson it will look like the following example in the picture below:
To see an overview of the Zoom meetings you have, navigate in your Dashboard to Instructor > Zoom